

 JW
JW JF
JF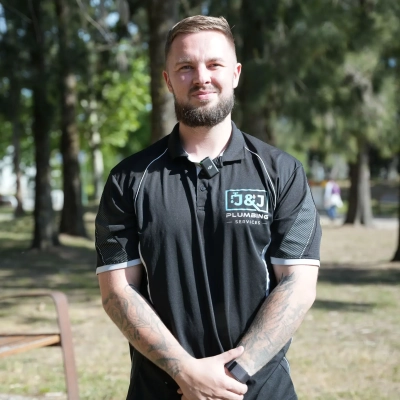 JR
JR SK
SK RE
RE KO
KO
Reserve Oversized Setbacks
Ysabel FlorendoMarketing coordinator · SouthPoint Geodetics LLC
At SouthPoint Surveying, we've learned that true building adaptability comes from spotting the high-impact decisions early through precise boundary and topographic surveys. We help builders and property owners focus on just two or three smart moves instead of loading up on extras that drive costs sky-high. It starts by mapping the site's real constraints with our mix of GPS technology and conventional methods so we don't guess, we measure. That data lets us explain tradeoffs clearly to clients right away, whether it's choosing modular utility corridors that support future expansions or placing foundation points with room to reconfigure without tearing everything down.
We prioritize work when resources are tight by ranking each potential change against long-term land-use patterns here in South Texas. A flexible floor plate might sound nice, but if the boundary survey shows easement limits, we steer clients toward cheaper site-grading adjustments that deliver the same payoff. We've seen this approach cut unnecessary complexity while still giving owners options down the road for shifting from retail to residential or adding warehouses without new permits.
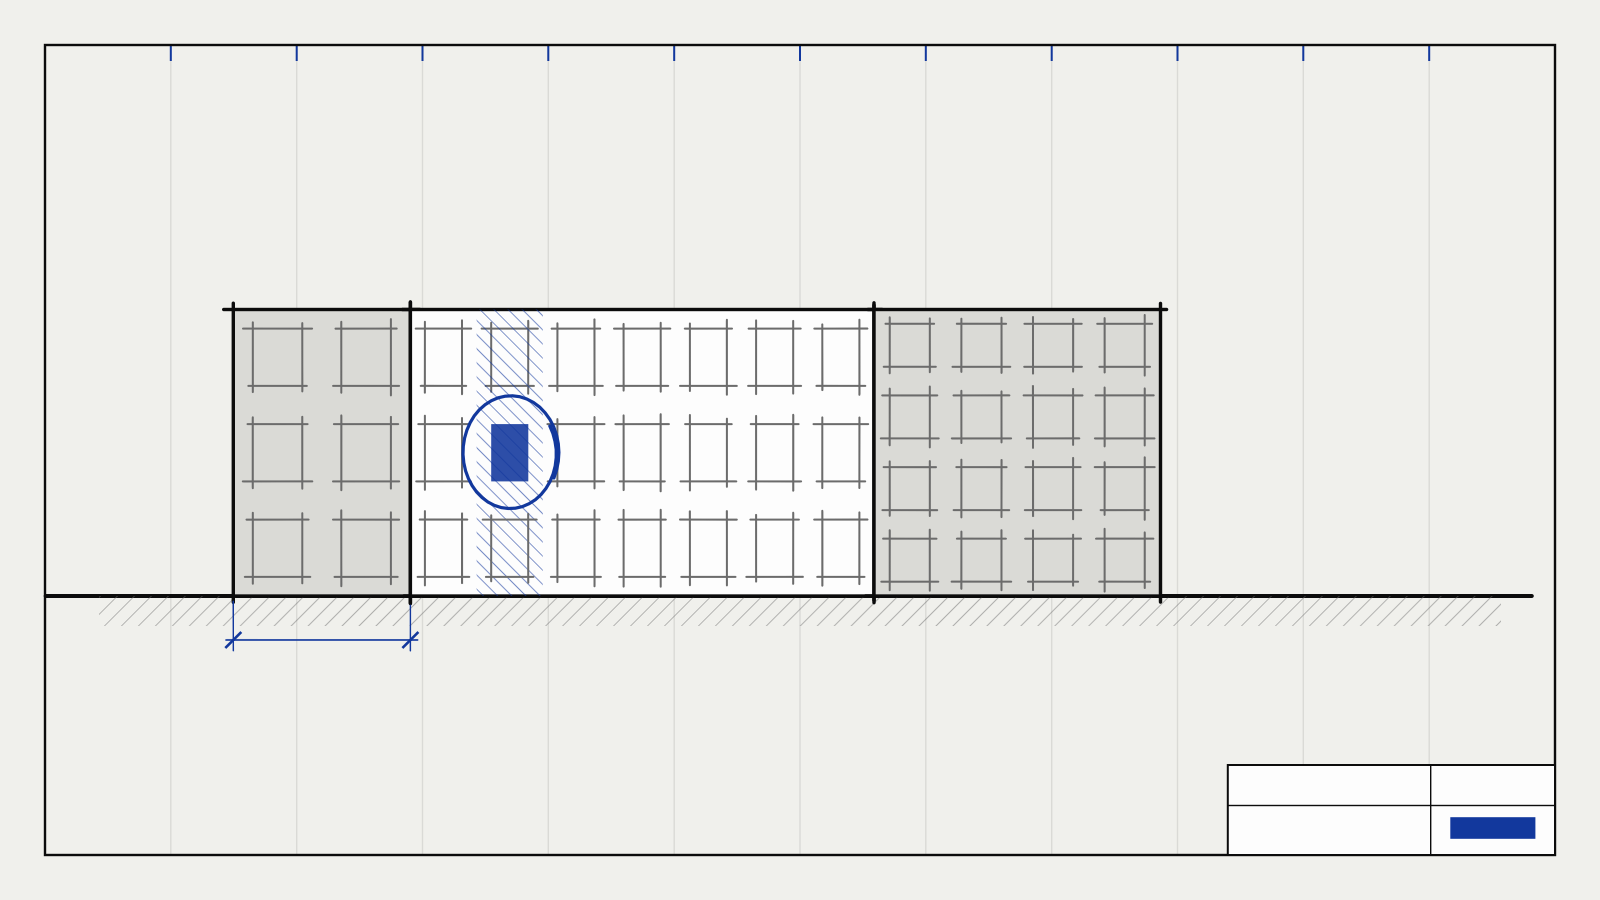
One decision that paid off years later happened on a Harlingen commercial project. We recommended slightly oversized setbacks during the initial ALTA/NSPS land title survey, even though it wasn't required. The extra space cost little upfront, but when the owner pivoted to mixed-use development five years on, those setbacks allowed seamless additions without replatting or fighting zoning boards. Builders and lenders we work with still talk about how that one call saved them months and serious money.
We build trust through clear communication by walking every stakeholder through the survey findings so they see exactly why we're suggesting these lean choices. It's not about adding bells and whistles; it's about delivering real flexibility that matches South Texas realities. Property owners and real estate pros keep coming back because our surveys turn future uncertainty into confident, adaptable plans. We've watched those early smart moves create lasting value time after time.
Zone Power and Lighting
Jake WoodsLighting Consultant · Residence Supply
When I design for future flexibility, I avoid treating adaptability as a collection of expensive "just in case" features. The best decisions usually make the space work better immediately while keeping future changes simple and affordable.
As a lighting and interior designer, I focus first on the things that become costly or disruptive to alter later: electrical capacity, lighting distribution, ceiling access, circulation, and the relationship between fixed features and open floor area. If those fundamentals are planned well, a space can change purpose without requiring a major renovation.
One decision that paid off years later was planning the power and lighting layout around flexible zones instead of one fixed furniture plan. Rather than placing every outlet, switch, and task light around an assumed desk arrangement or seating layout, we included a few carefully positioned connection points and independently controlled lighting zones.
The goal was not to add outlets or fixtures everywhere. It was to anticipate the most likely changes: where furniture might move, where people would gather, which walls could become display or storage areas, and which portions of the room might need focused task lighting instead of softer ambient light.
We created a simple hierarchy: general illumination for the room, separate lighting zones for key activity areas, and dimming controls that allowed the mood and function of the space to change throughout the day. That kept the design clean while giving occupants practical control.
Years later, when the room's use changed, it could be reorganized largely through furniture placement, lighting adjustments, and minor operational changes rather than rewiring or construction. The space still looked intentional because the infrastructure had been designed for more than one scenario.
The lesson is that adaptability does not come from making every element adjustable. It comes from protecting the parts that are hardest to change and keeping the rest open enough to evolve. Clear circulation, accessible services, sensible electrical capacity, flexible lighting zones, and fewer overly fixed elements can create meaningful long-term value without adding unnecessary complexity.
— Jake Woods, Lighting & Interior Designer, Residence Supply
Upgrade Core Services First
Jesse FowlerFounder, Plumber · J & J Plumbing Services
To deliver real adaptability without unnecessary cost, focus on upgrading core building services—especially plumbing—rather than chasing cosmetic fixes. Service upgrades solve performance problems and add modest capacity and layout flexibility, so future uses can be accommodated with minimal rework. In my renovation work, I shifted from quick surface refreshes to prioritising service upgrades and moisture remediation, and that decision paid off years later by reducing follow-up repairs and preserving value. Scope the service work to address real performance issues and keep the interventions simple to avoid added complexity.
Concentrate Cores, Free Floor Plates
James RudgeOwner · J&J Renovations
I choose adaptability by asking which future change would become expensive if the structure or services locked it in. The decision that pays off years later is keeping permanent walls and service cores concentrated while using non-load-bearing partitions across the ordinary floor area. Rooms can then be combined, divided or repurposed without altering the primary structure or relocating major plumbing and ventilation. I would invest in clear spans, accessible service routes and adequate floor-to-floor height, while avoiding speculative technology. The aim is to make future change a fit-out project rather than a structural reconstruction.
Widen Structural Bays Early
Siim KostabiFounder · 3Dstudio.co
Structural grids wider than you think you need, and mechanical systems that don't live in the walls. That's the starting point most architects miss until they're six years into a building and a tenant wants to subdivide a floor or move their server room.
We've visualized dozens of renovation briefs for Nordic developers, and the ones that aged well almost always had one thing in common: the original design assumed change. Not just theoretically, they actually modeled it. One major Oslo project we rendered had a 7.2-meter bay depth instead of the typical 6 meters. Seemed wasteful at the time. Fifteen years later, when the tenant needed to reconfigure the entire ground floor for a new business model, that extra 1.2 meters meant they could fit partition walls, new MEP runs, and a staircase without any structural demolition. The cost difference during construction was maybe 3-4% on that wing. The renovation bill they avoided was somewhere north of 400,000 euros.
The expensive mistakes come from designing to a single tenant's footprint instead of to the grid. Column placement, ceiling height zoning, mechanical room locations, all of it locked in for one specific layout. The move that pays off is the one you make early and that costs almost nothing to implement: assume the next user is completely different.
Specify Large-Format Tile
Rubi EsmeraldaEntrepreneur / Licensed General Contractor / Investor · SHINE INVEST
I focus on a few moves that keep options open without overbuilding, starting with durable finishes and straightforward access to plumbing, electrical, and mechanical systems so future changes do not require major demolition. The goal is to pick details that perform well after the project is done, not just details that look good on day one. One decision that paid off years later was using larger-format tile with fewer grout joints in high-use areas. It did not change the design, but it reduced cleaning time and ongoing maintenance, and it held up better as the space evolved.
Rough In a Second Bathroom
Kam OveisyFounder · Desire Basements
I'm Kam Oveisy, founder of Desire Basements, a design-build renovation company in the Greater Toronto Area. We've finished more than 400 basements since 2017, and a basement is the part of a building where flexibility gets decided once, during construction, and then sealed behind drywall and concrete.
My rule for choosing the few moves that matter: spend on what is expensive to add later and cheap to add now, and skip everything else. Adaptability that lives in finishes is decoration. Adaptability that lives in the slab, the walls, and the services is real.
In practice, that means three moves. Rough in a second bathroom while the concrete is already open, even if there is no plan to build one. Drains and venting cost little at that stage, and cutting concrete in a finished space costs a multiple of it. Run spare circuits and an empty conduit or two back to the panel while the walls are open, because nobody can predict whether the space becomes a gym, an office, or a golf simulator, and the conduit doesn't care. And if the lot allows it, add a separate entrance. That one door changes what the space can legally become: a rental suite, an in-law apartment, stair-free living for an aging parent.
The decision that paid off years later is the bathroom rough-in. I've lost count of clients who said no bathroom, ever, then phoned three years later. The ones who let us rough it in paid for a bathroom. The ones who didn't paid for concrete cutting first, then a bathroom.